

Blog
Measurement & Installation Guide – Measure Accurately, Install Perfectly

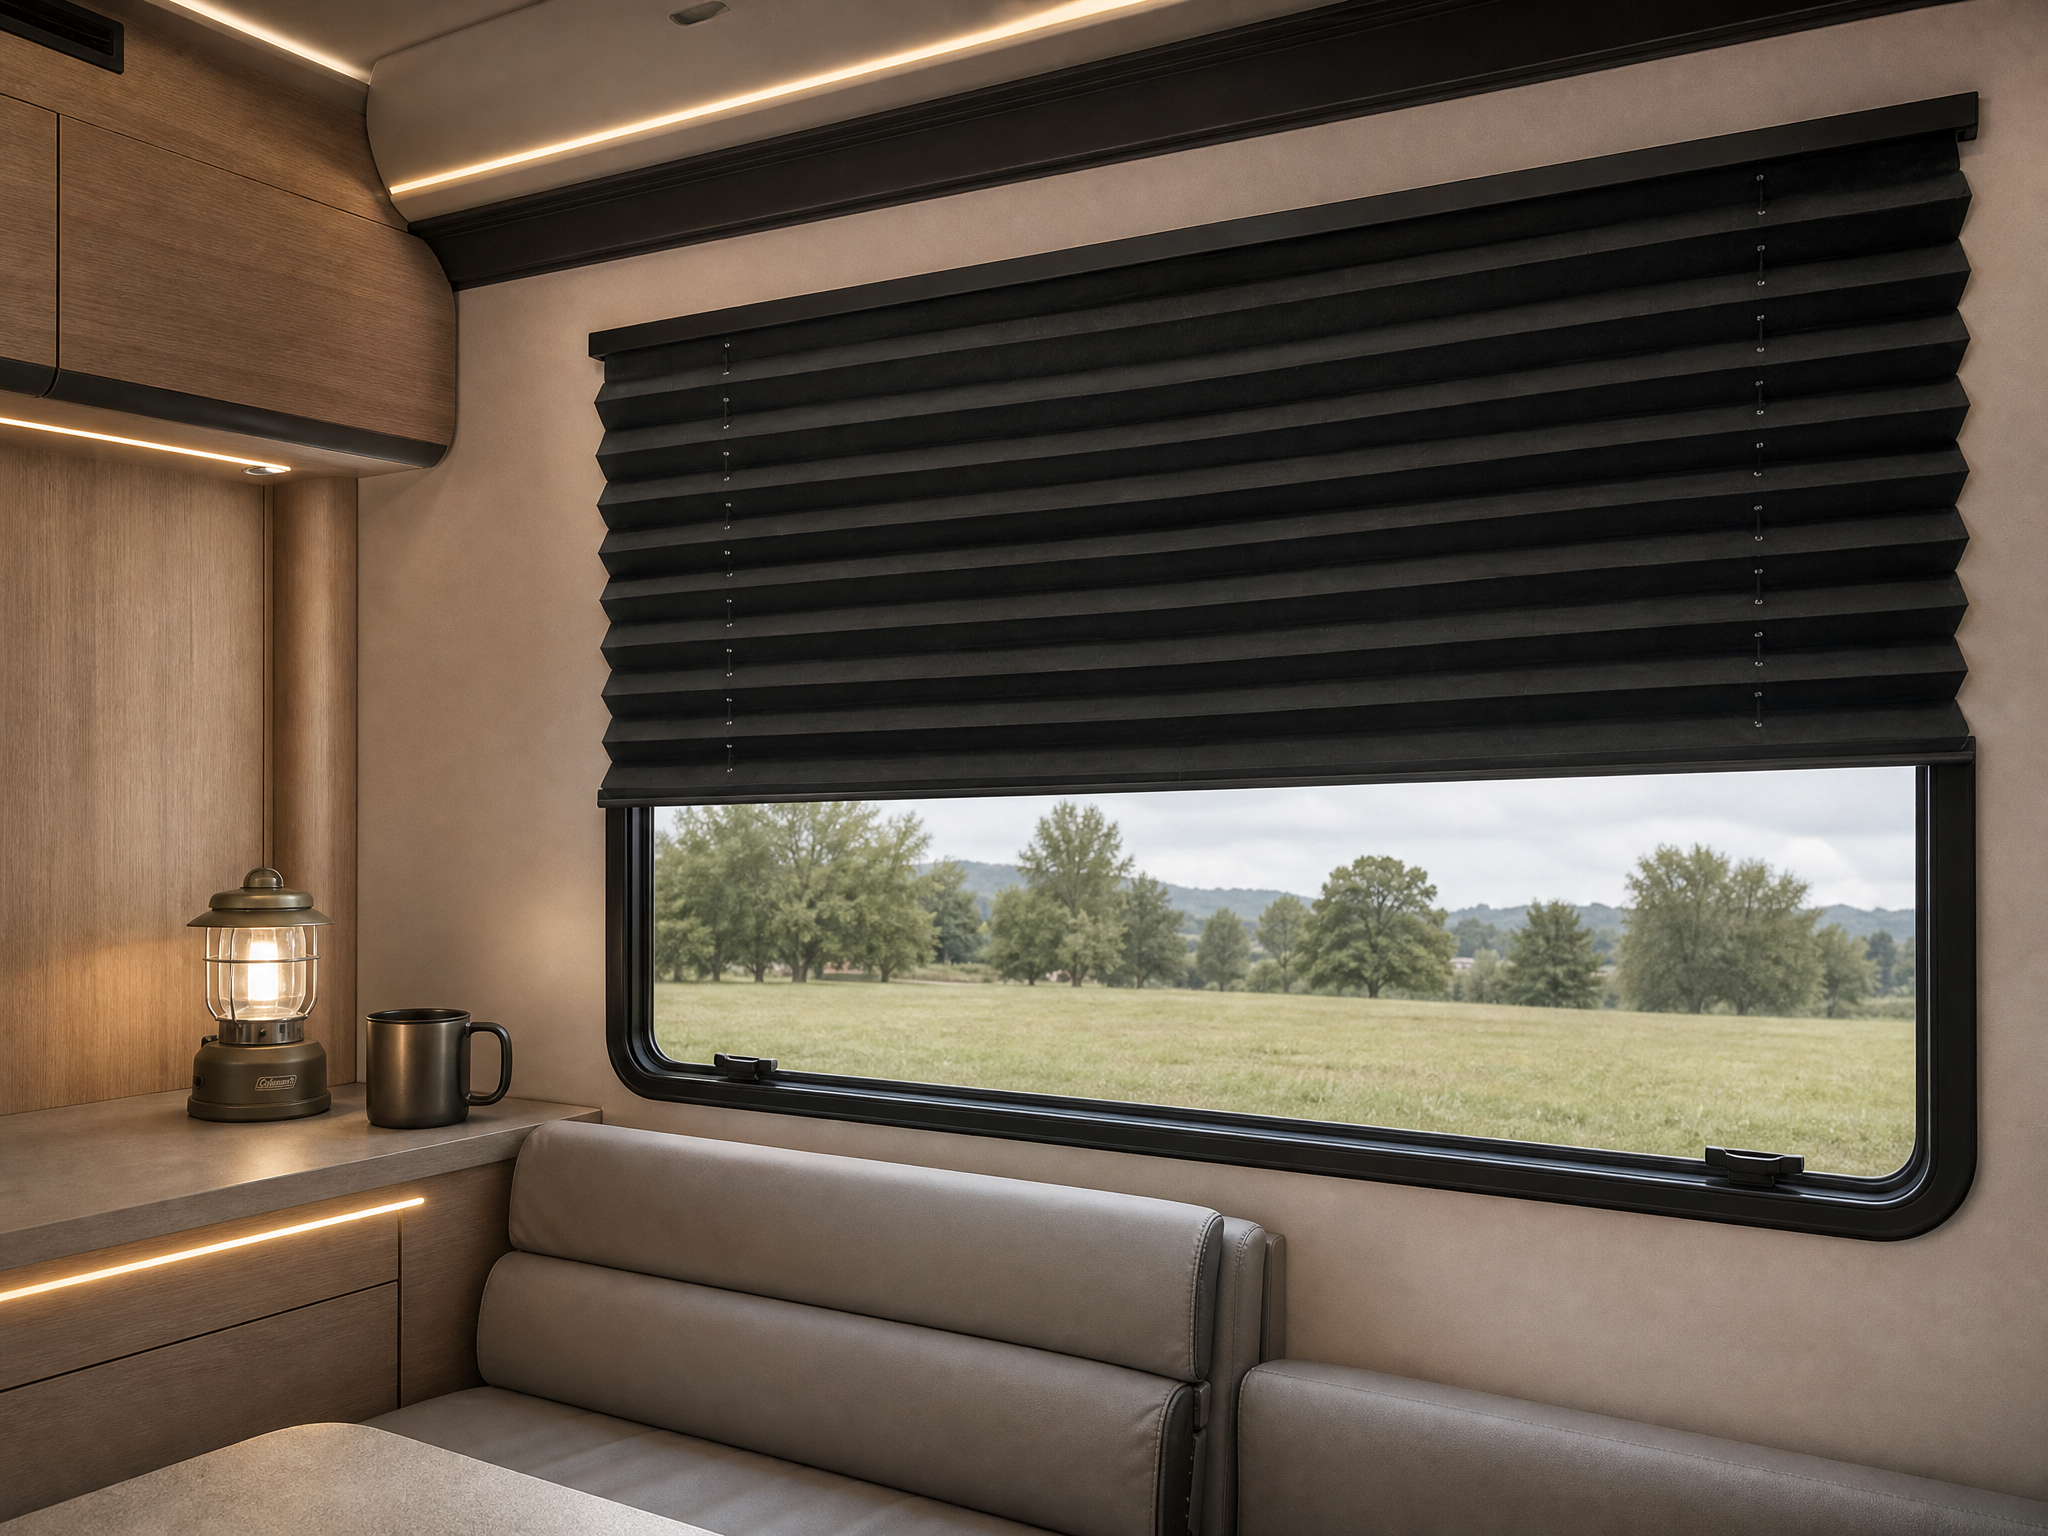
- From Selection To Installation: The Complete RV Blinds Guide To Refresh Your Camper Interior
- Part 2: Measurement & Installation Guide – Measure Accurately, Install Perfectly
Chapter Transition Intro
- After learning how to pick the most suitable RV pleated shades in Part 1, the next critical step is precise window measurement and standardized installation. Many RV owners encounter costly mistakes: ill-fitting shades due to wrong measurements, loose brackets that rattle during highway driving, or damaged RV interior panels from improper drilling.
- This full tutorial covers pre-measurement preparation, two core measuring methods (Inside Mount & Outside Mount), step-by-step hard installation procedures, and damage-free no-drill mounting solutions for rental RVs. Follow every step strictly to get perfectly fitted, stable RV pleated shades that stay quiet on bumpy roads.
Pre-Measurement Preparation
1.1 Confirm your mounting style first: Inside Mount VS Outside Mount
1) Inside Mount: Sleek integrated appearance, only compatible with window frames with minimum depth ≥3.8cm
2) Outside Mount: Superior light blocking effect, ideal for shallow thin frames or owners who want to visually enlarge window sightlines
1.2 Tool Checklist: Steel tape measure, pencil, notebook. Metal measuring tape is mandatory; soft cloth tape will create obvious measurement errors.
1.3 Golden Rule: Measure Twice, Order Once. Double-check all dimensions before submitting your custom blind order to avoid remaking fees and delivery delays.
Inside Mount Measuring Method
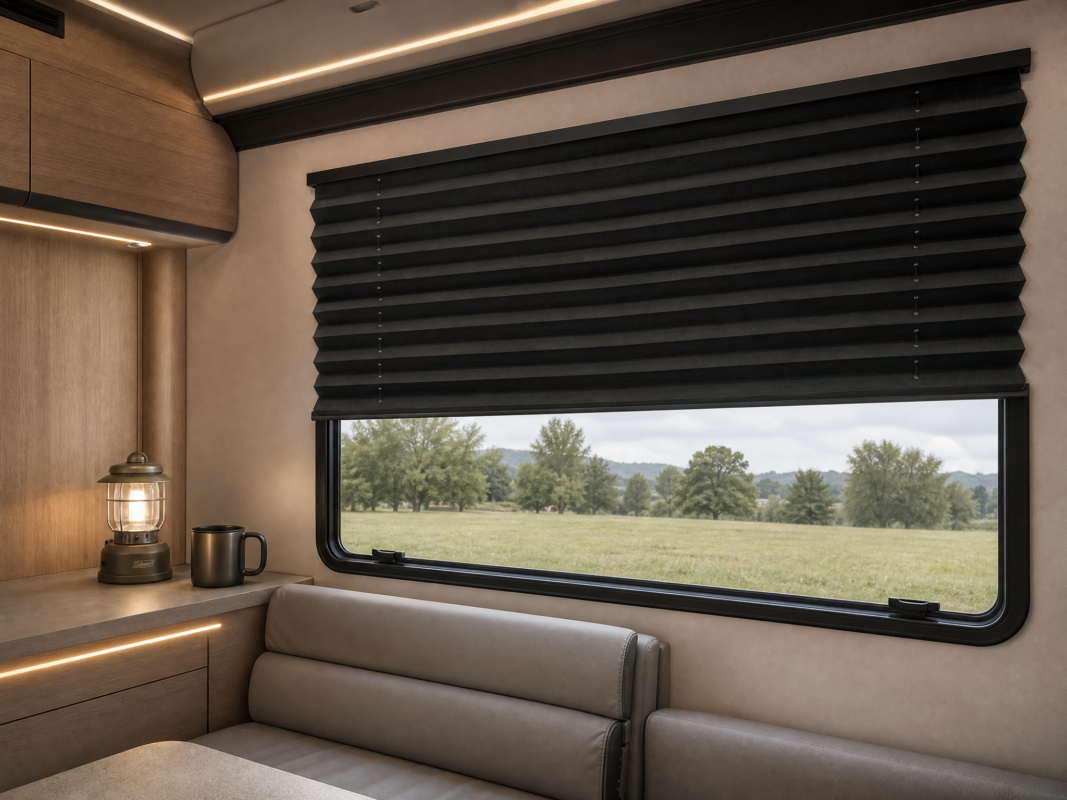
Inside Mount means installing RV pleated shades fully inside the window frame, for a flush built-in look. Follow these measuring rules:
1) Width Measurement: Take readings at the top, middle, and bottom of the frame → Use the smallest value as your ordered width to guarantee smooth retraction without jamming.
2) Height Measurement: Measure left, central, and right sides of the frame → Adopt the maximum value for full vertical coverage.
3) Depth Confirmation: Double-check frame depth is no less than 3.8cm, the minimum space required for inside mount hardware.
Tip: Mark all measuring positions on your notebook for reference when customizing your RV blinds.
Outside Mount Measuring Method
Outside Mount fixes the blind rail above & beside the window frame, covering the entire glass pane to eliminate light leakage.
1) Width Measurement: Actual window width + add 5–10cm extra overlap on both left & right sides → Take the maximum total width.
2) Height Measurement: Actual window height + add 5–10cm extra overlap on top & bottom → Take the maximum total height.
Extra overlap blocks peripheral light gaps completely and enlarges the visual window size of your RV interior.
Detailed Step-by-Step Hard Drilling Installation
4.1 Required Tools List
Electric drill, screwdriver, spirit level, steel tape measure, pencil, step ladder.
4.2 5 Standard Installation Steps
1) Mark bracket mounting positions, use a spirit level to ensure horizontal alignment (tilted rails will make blinds stick during lifting).
2) Pre-drill tiny pilot holes to prevent RV wood panels or aluminum frames from cracking under screw pressure.
3) Secure all metal brackets tightly with matching screws.
4) Clip the main RV pleated shade unit into the mounted brackets; you will hear a clear “click” sound once locked in place.
5) Fully test upward & downward lifting, tilt adjustment to confirm smooth operation without stuck spots.
4.3 Special RV Reminder
RVs face constant vibration during long-distance driving. We highly recommend lockable reinforced brackets, and retighten all screws twice after installation to avoid loose rattling on bumpy roads.
No-Drill Installation Solutions (For Rental RVs & Damage-Free Refits)
If you rent your RV or refuse to drill holes and damage original interior panels, pick one of these three non-destructive mounting methods for lightweight RV pleated shades:
5.1 Heavy-Duty 3M VHB Double-Sided Tape Mounting
Perfect for smooth flat wall/frame surfaces; clean dust and grease thoroughly before pasting to guarantee long-term adhesion against road vibration.
5.2 Magnetic Mount System
Exclusive for metal RV window frames; strong built-in magnets hold the blind rail firmly without any drilling marks.
5.3 Tension Rod Mounting
Only suitable for small lightweight RV windows; tension force fixes the rail between two frame sides with zero wall damage.
After installing your RV pleated shades, check all brackets and screws every 1–2 months before long road trips to eliminate loose rattling risks. If you need custom-sized RV blinds with full blackout lining, cordless safe control and RV anti-vibration hardware, contact our sales team to get custom measuring templates and free fabric samples.